Plastering Checklist
Whether you’re renovating a room or building from scratch, proper plastering is key to achieving a smooth, durable, and professional finish. From surface prep to drying times, our plastering checklist walks you through every critical step — so you can avoid cracks, uneven textures, or costly do-overs.
Enter your postcode to connect with verified plasterers near you
Popular Searches : Plumbers, Pest Control, Lawn Mowing, Handyman,

Plastering Checklist
Plastering is a vital step in creating smooth, durable, and visually appealing walls and ceilings, providing the perfect foundation for painting, wallpapering, or decorative finishes. Done correctly, it strengthens surfaces, improves insulation, and enhances the overall look and feel of a room. However, plastering is a task that demands preparation, precision, and patience—any shortcuts can lead to cracks, uneven textures, or surfaces that don’t stand the test of time. Whether you’re repairing small patches, skimming over old walls, or plastering an entire renovation project, having a structured checklist ensures that every stage is completed properly. From preparing surfaces and mixing plaster to application and finishing, this guide will help you achieve professional-quality results and avoid the common pitfalls that can compromise the final finish.

Plastering Checklist
Remove furniture and cover floors with dust sheets. Protect fixtures and edges with masking tape to prevent damage or stains.
Check walls and ceilings for dust, grease, or loose material. Wash or scrape down surfaces so plaster adheres properly.
Fill gaps or damaged sections with filler or bonding plaster before skimming to create a stable, even base.
Always add plaster to clean water, not the other way around, to avoid lumps. Follow manufacturer ratios for consistency.
Any dried plaster remnants can set off the mix too quickly. Clean tools extend working time and improve finish.
Stir with a paddle or hand tool until the plaster is lump-free and has a creamy texture suitable for spreading.
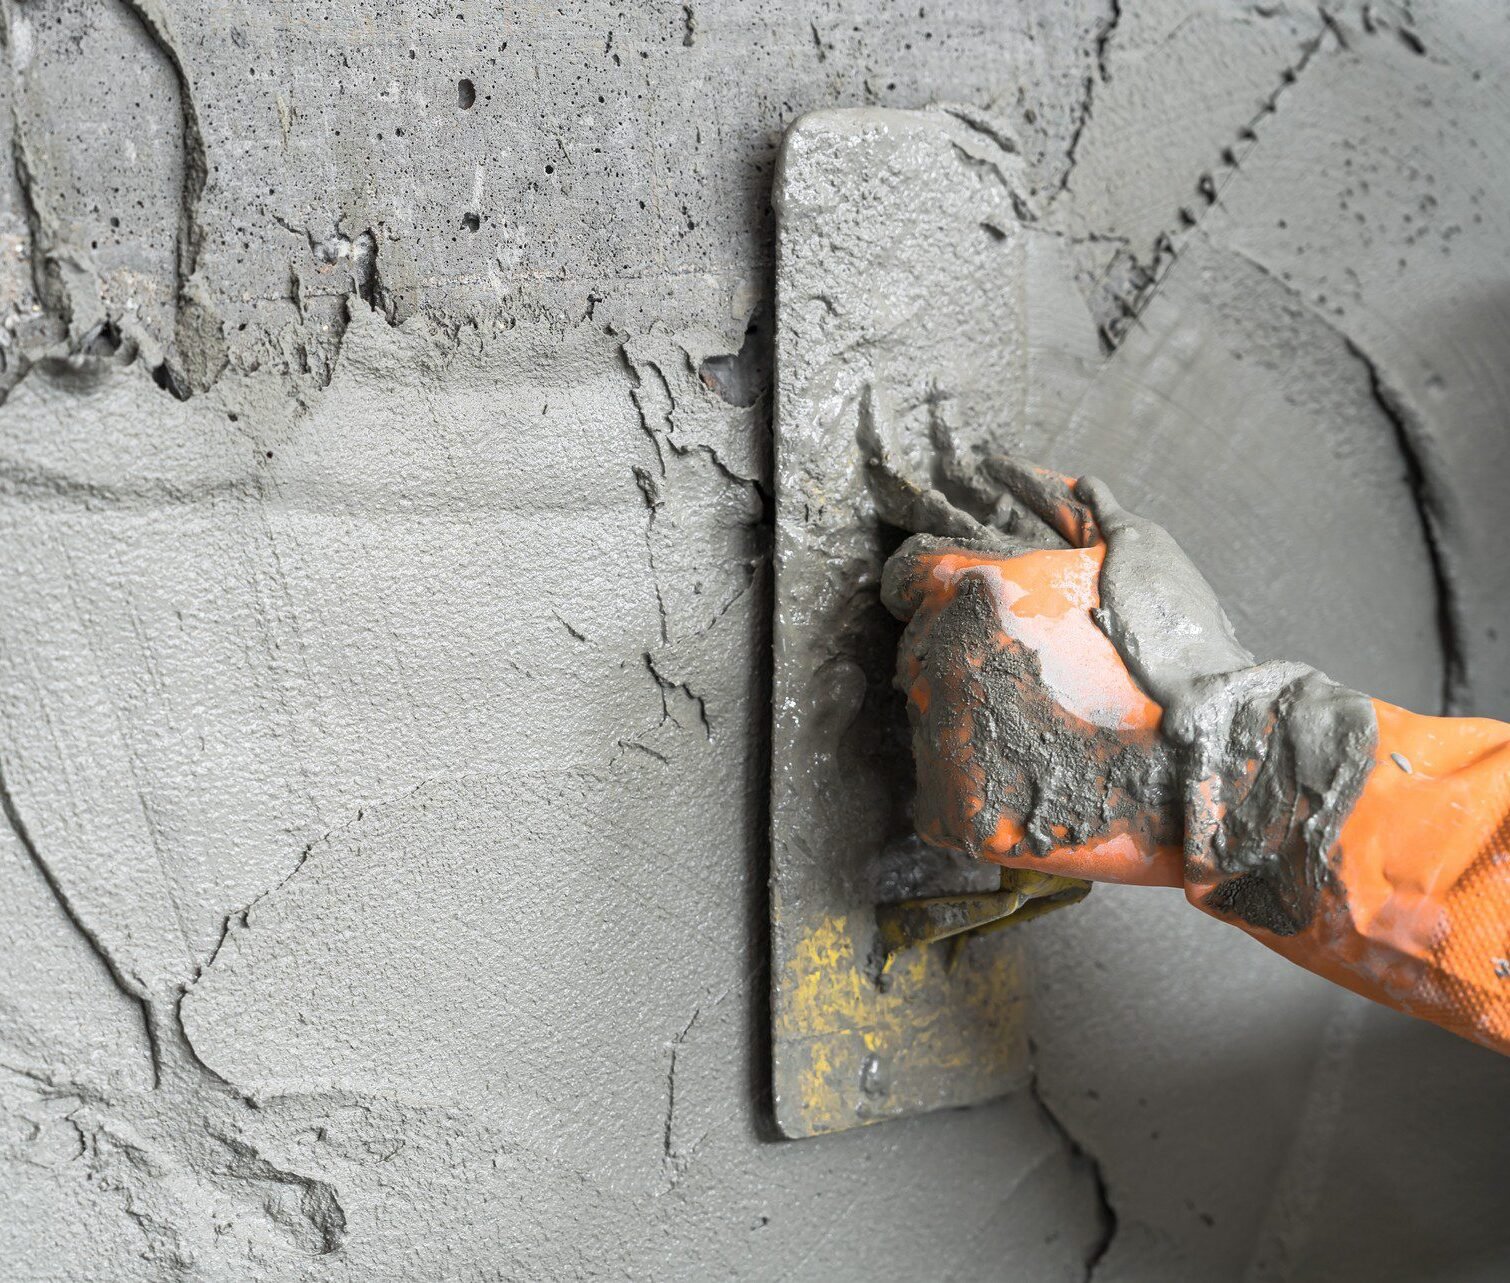
Start with a thin, even layer using a hawk and trowel, pressing firmly to key plaster into the surface.
Apply a second coat slightly thicker than the first, working quickly before the plaster sets. Maintain smooth, overlapping strokes.
Use corner beads or straightedges to keep corners sharp and consistent, preventing weak spots.
Once plaster begins to firm, glide the trowel across the surface with light pressure to flatten and polish.
Lightly spray water and re-trowel stubborn dry patches to achieve a uniform finish across the wall.
Leave plaster to dry naturally for several days. Avoid painting until surfaces are fully cured and evenly pale.
Proper plastering is all about careful preparation, consistent application, and patient finishing, and by following this checklist you’ll create smooth, durable surfaces that are ready for decorating. Taking the time to repair underlying issues, mix materials correctly, and polish each layer ensures a professional-quality result that not only looks great but also stands the test of time. With the right approach, your walls and ceilings will provide the perfect foundation for paint, wallpaper, or any interior finish you choose.
