Air conditioning
installation checklist.
Planning to install an air conditioner in your home? Whether you’re going for a split system or ducted air con, proper installation is crucial for top-notch performance and energy savings.
Ready for a air conditioning installer? Get started below:
From picking the right unit size to making sure it’s placed properly and meets electrical requirements, there’s a lot to think about when it comes to air conditioning installation. Our comprehensive checklist breaks down the process into manageable steps to help you get the perfect results.
Choosing your air conditioner
Measure your room dimensions accurately and calculate the required cooling capacity in kilowatts (kW). Consider factors like ceiling height, window size, insulation quality, and local climate conditions.
Choosing the right unit size is crucial. An incorrectly sized unit will either struggle to cool your space properly or waste energy through constant cycling, leading to higher energy bills and reduced comfort levels.
Related Articles:
How much does air conditioning installation cost
What size air conditioner do I need
Choose between split system, multi-split, or ducted air conditioning based on your home’s layout, budget, and cooling requirements. Consider factors like outdoor unit placement options and indoor space constraints. Making the right choice here affects not just your comfort but also your property’s value and long-term energy costs.
Measure your room dimensions accurately and calculate the required cooling capacity in kilowatts (kW). Consider factors like ceiling height, window size, insulation quality, and local climate conditions.
Choosing the right unit size is crucial. An incorrectly sized unit will either struggle to cool your space properly or waste energy through constant cycling, leading to higher energy bills and reduced comfort levels.
Related Articles:
How much does air conditioning installation cost
What size air conditioner do I need
Pre-Installation preparation
Have a licensed sparky check your home’s electrical system to ensure it can handle the additional load. Verify circuit capacity and whether a dedicated circuit is needed for your new unit.
This is important because inadequate electrical infrastructure can lead to system failures, safety hazards, and costly electrical upgrades after purchase.
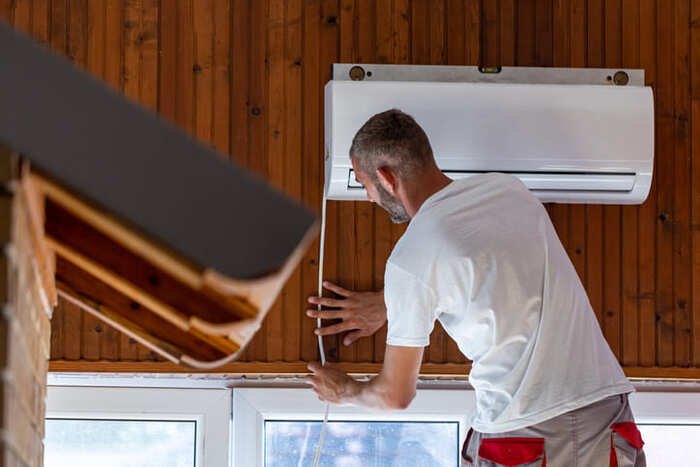
Identify the optimal location for both the indoor and outdoor units, considering factors like direct sunlight, airflow obstruction, noise impact on neighbours, and accessibility for maintenance.
Proper unit placement ensures top-notch performance, reduces operating costs, and minimises potential conflicts with neighbours over noise or aesthetic concerns.
Check local council requirements for air conditioning installation, particularly for heritage-listed properties or multi-residential buildings. Don’t forget to check your unit’s compliance with noise regulations and installation guidelines. Failing to secure proper permits can result in fines and having to relocate or remove the unit.
Installation day preparation
Check that your tradie is licensed and experienced with your specific type of system. Professional installation by qualified technicians is crucial for warranty validity and system longevity, making this step vital for protecting your investment.
Identify the optimal location for both the indoor and outdoor units, considering factors like direct sunlight, airflow obstruction, noise impact on neighbours, and accessibility for maintenance.
Proper unit placement ensures top-notch performance, reduces operating costs, and minimises potential conflicts with neighbours over noise or aesthetic concerns.
Confirm all aspects of the installation quote, including warranty coverage, installation timeline, and any additional costs for brackets, pipe covers, or electrical work. Understanding all costs upfront prevents surprise expenses and ensures you’re getting all the services needed for a proper installation.
A successful air conditioning installation typically progresses through these key stages: Unit selection and sizing, Pre-installation preparation and planning, Professional installation and testing, Post-installation verification and documentation. While this checklist provides comprehensive guidance, remember that every home is unique. Adapt these steps to your specific situation and don’t hesitate to connect with professional help for complex installations. Hiring a professional is often the smarter choice, as they have the expertise to handle any unexpected issues. They’ll also ensure that your system is installed correctly, saving you time and potential headaches down the road.